Home    Tee Times    Contact Us
Home     Contact     (678) 271-3389
Book Tee Times     Calendar        
Slide 1
Slide 2
Slide 3
Slide 4
Slide 5

Tour The Course

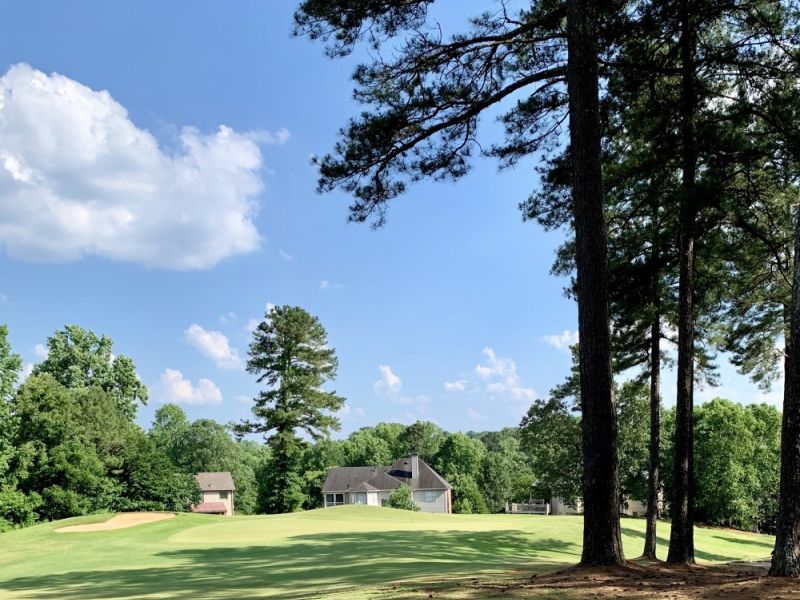
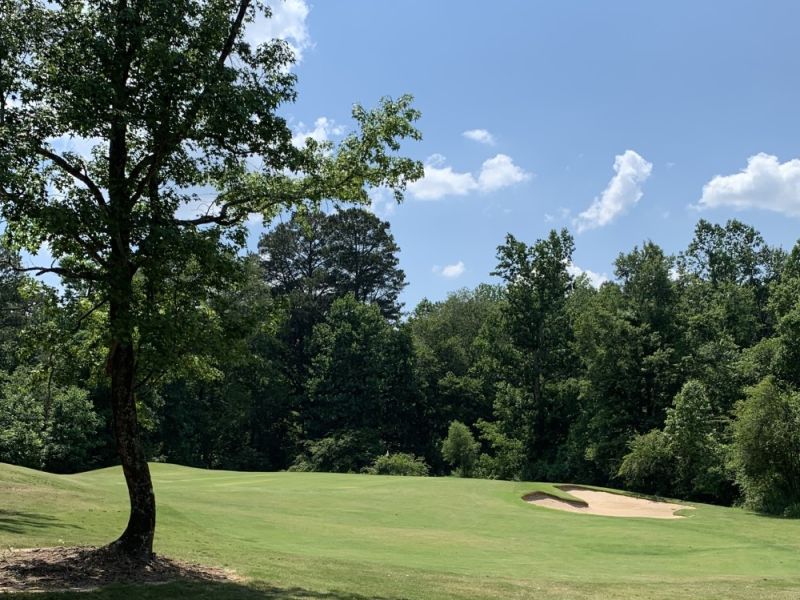
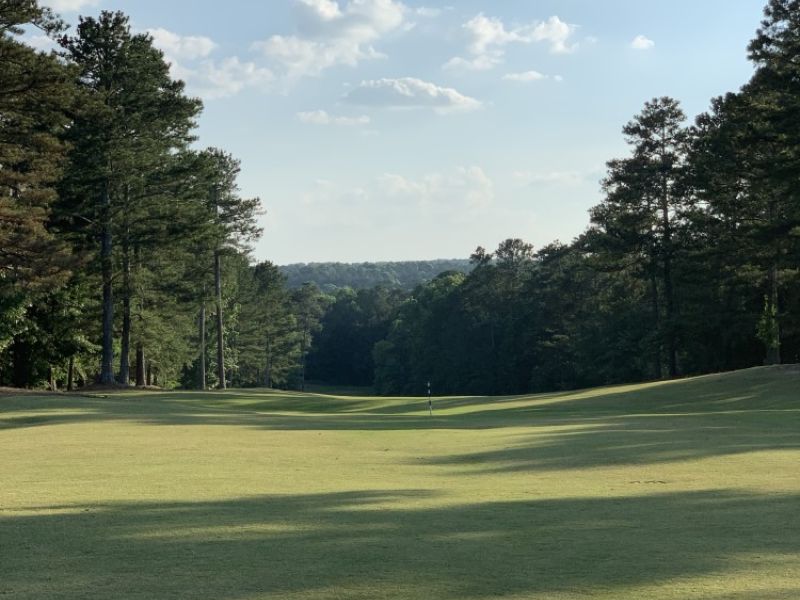
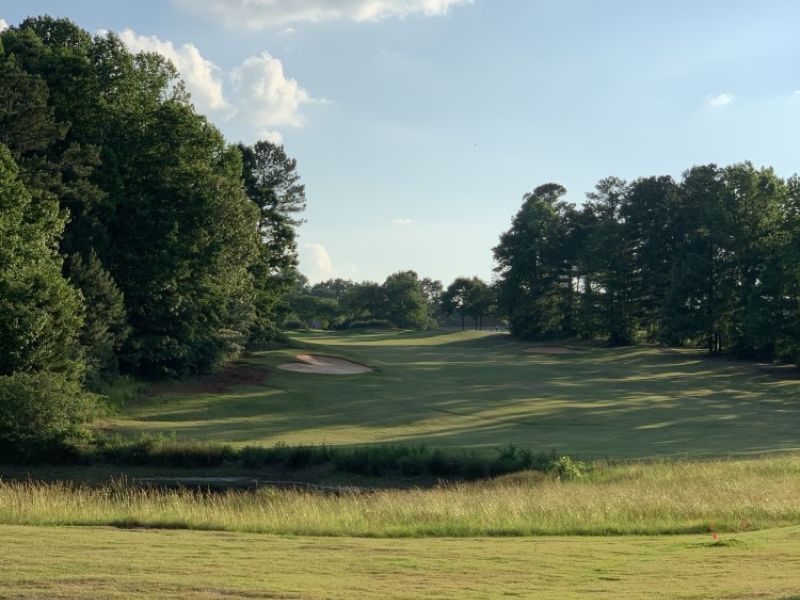
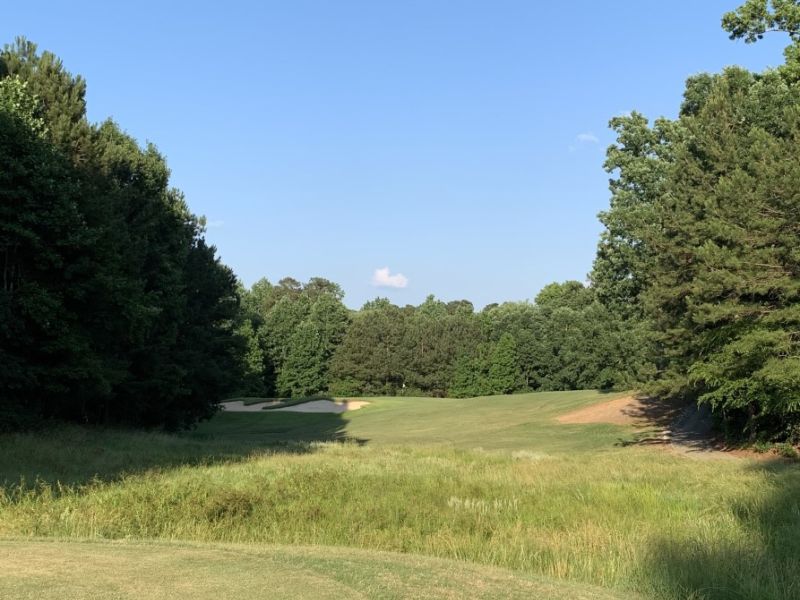
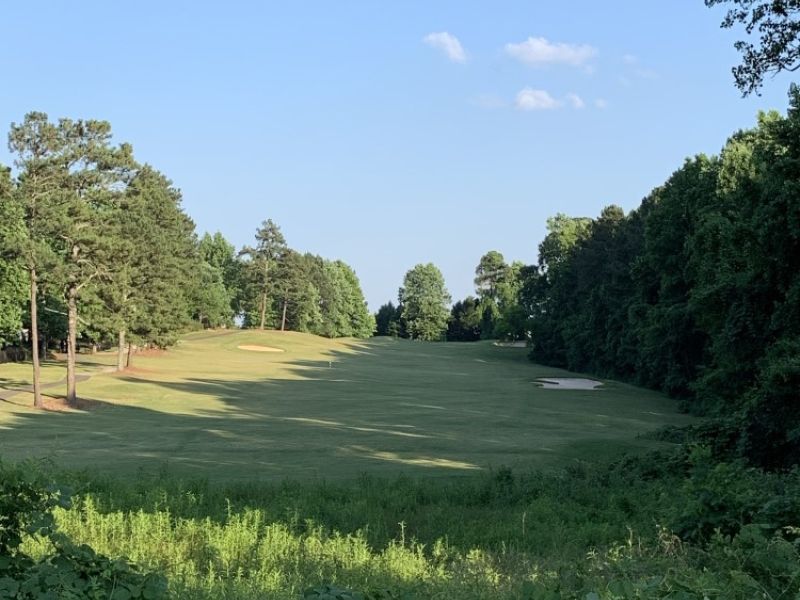
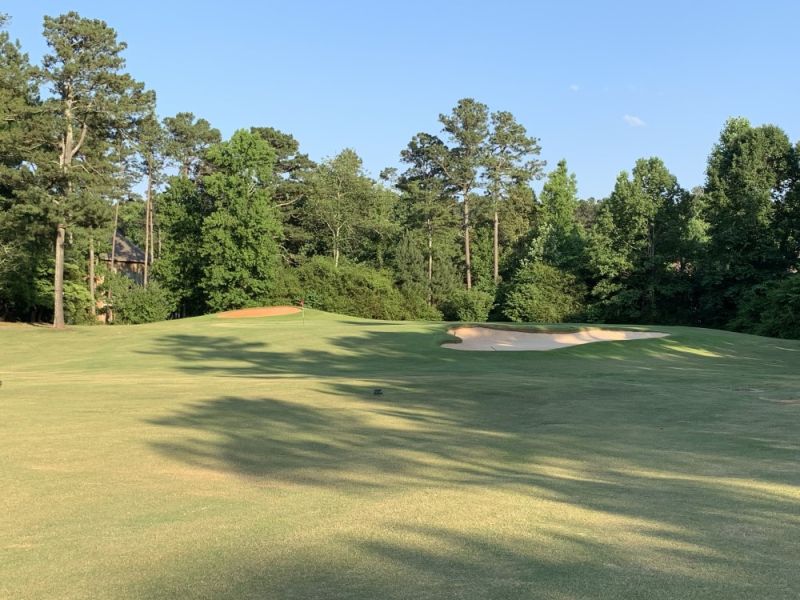
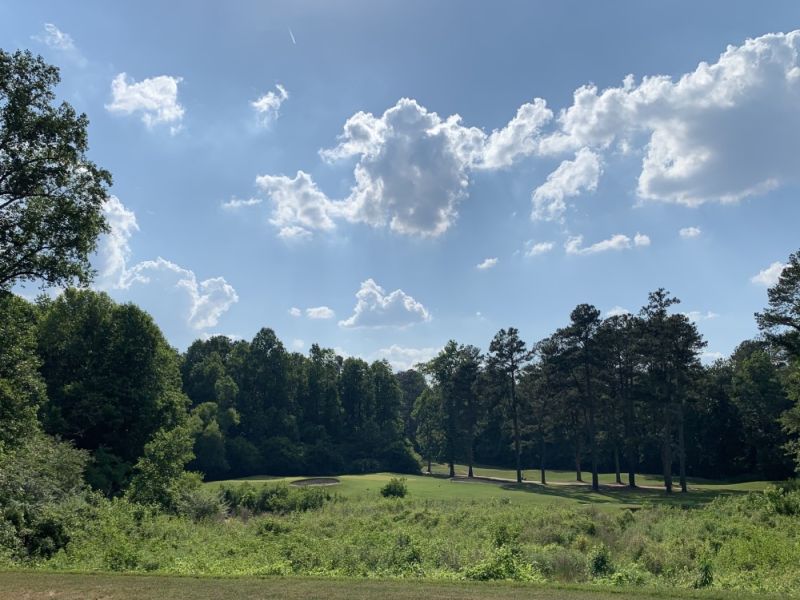
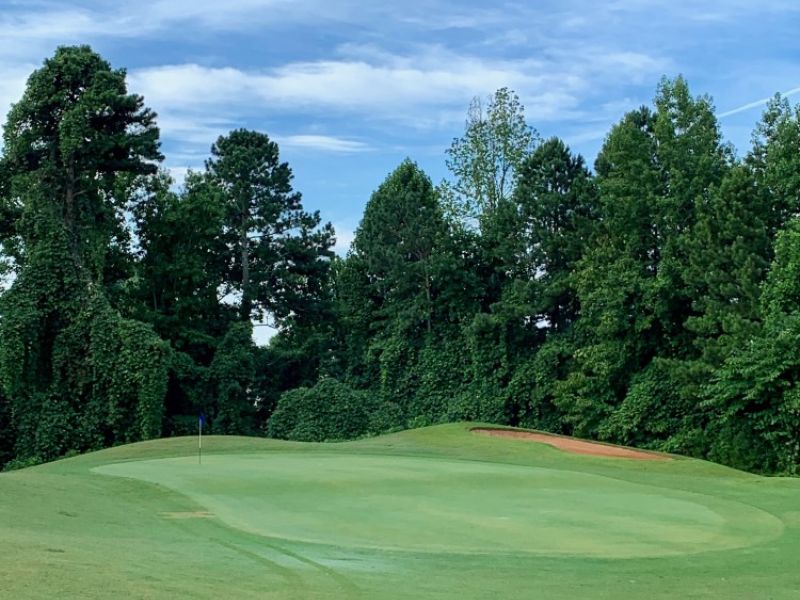
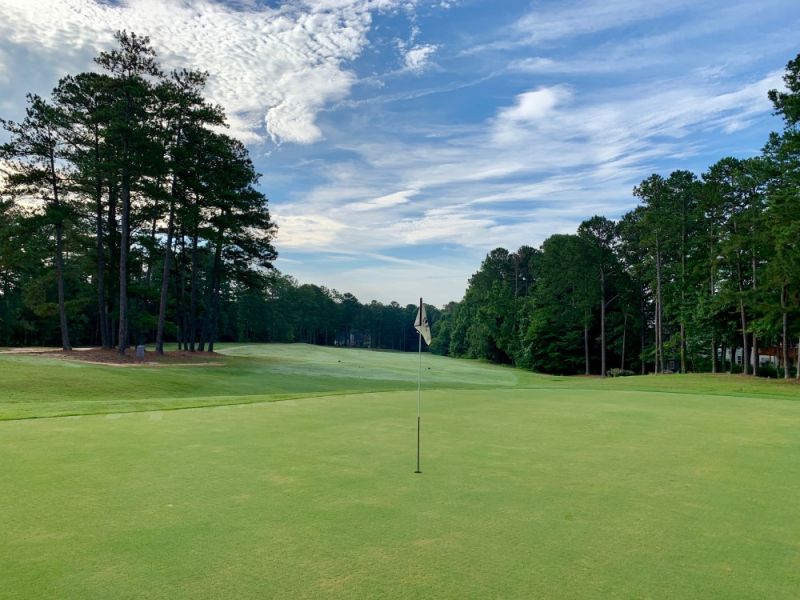
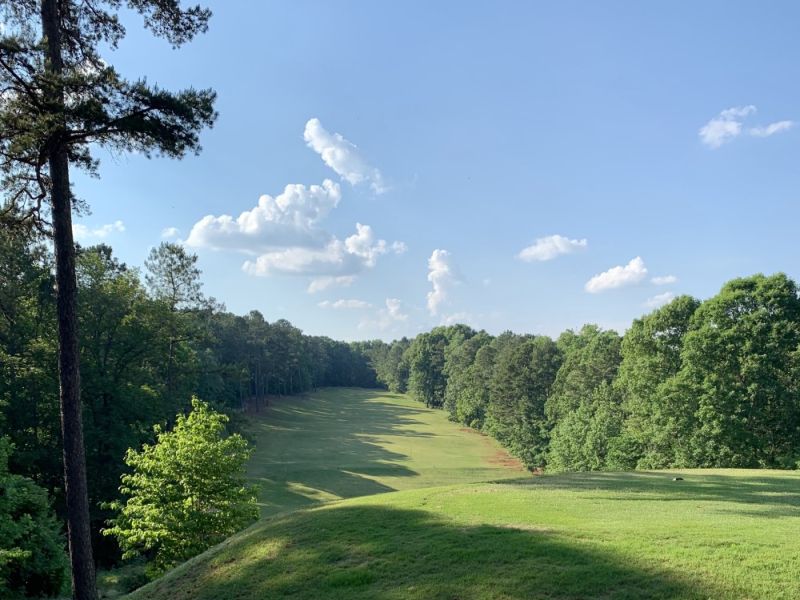
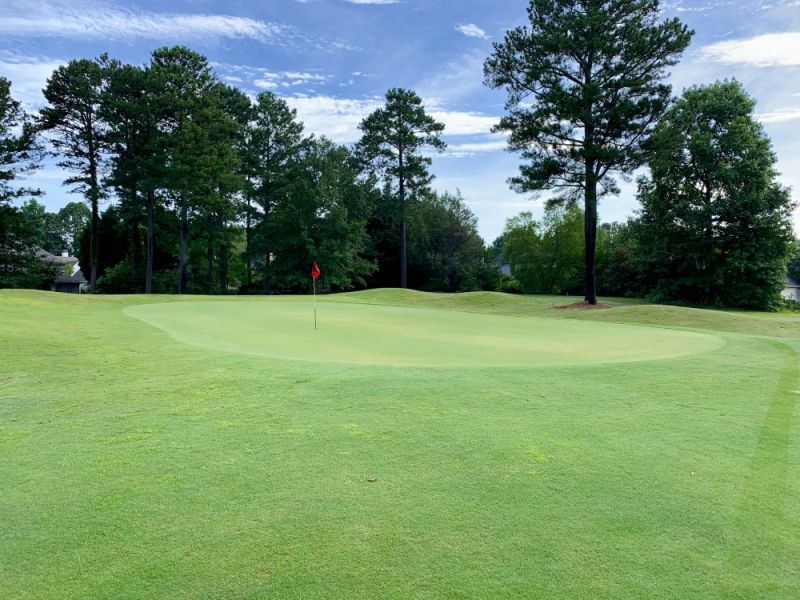
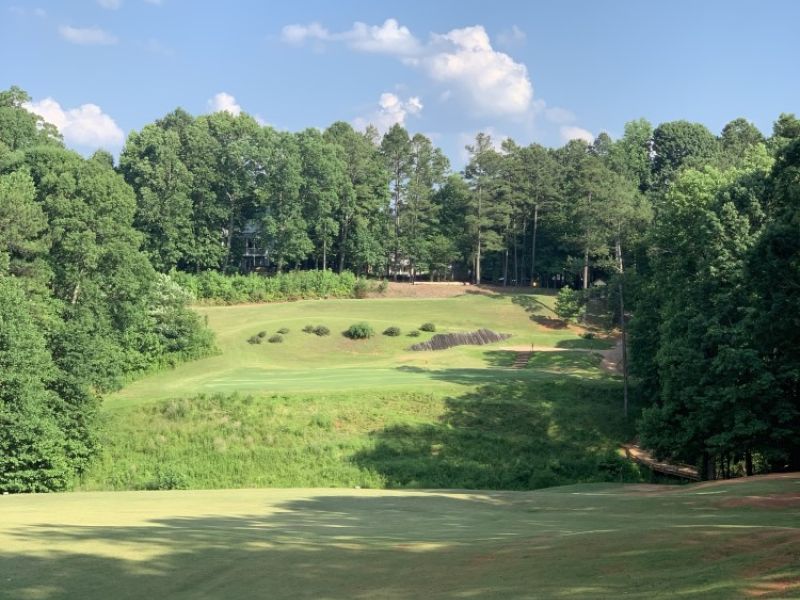
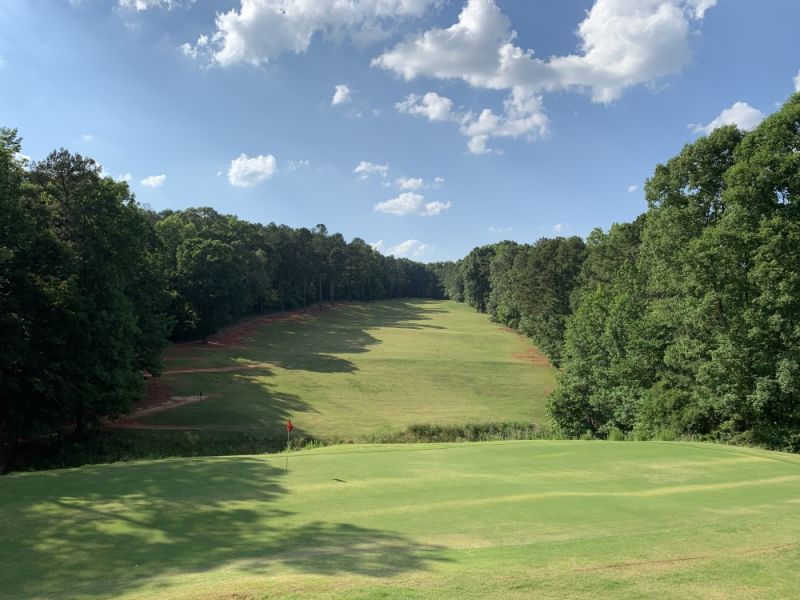
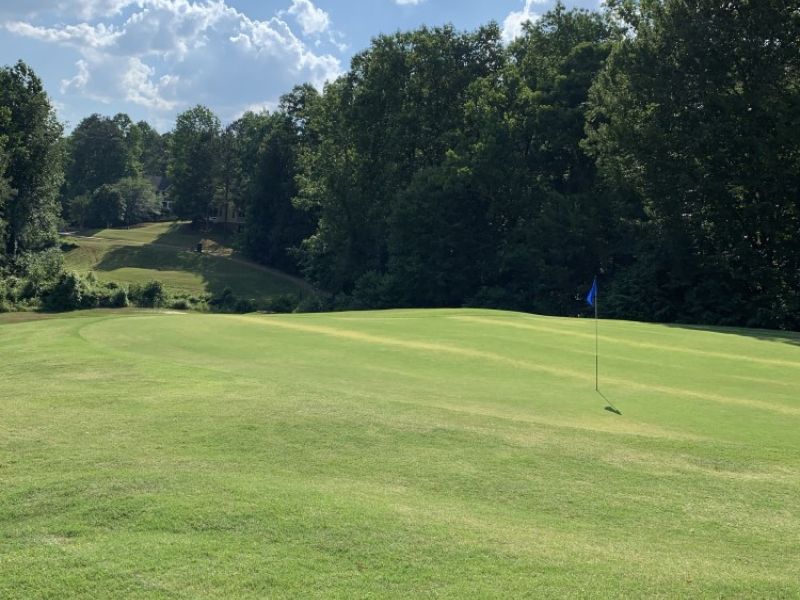
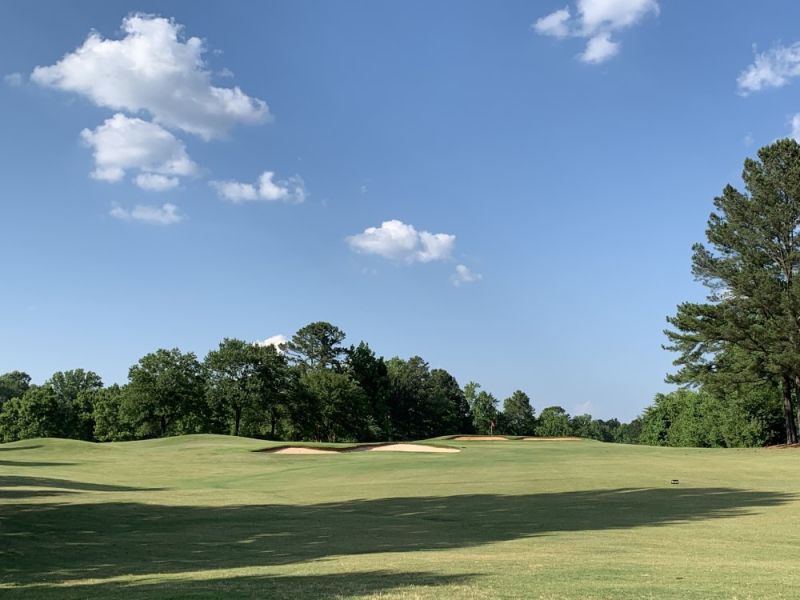
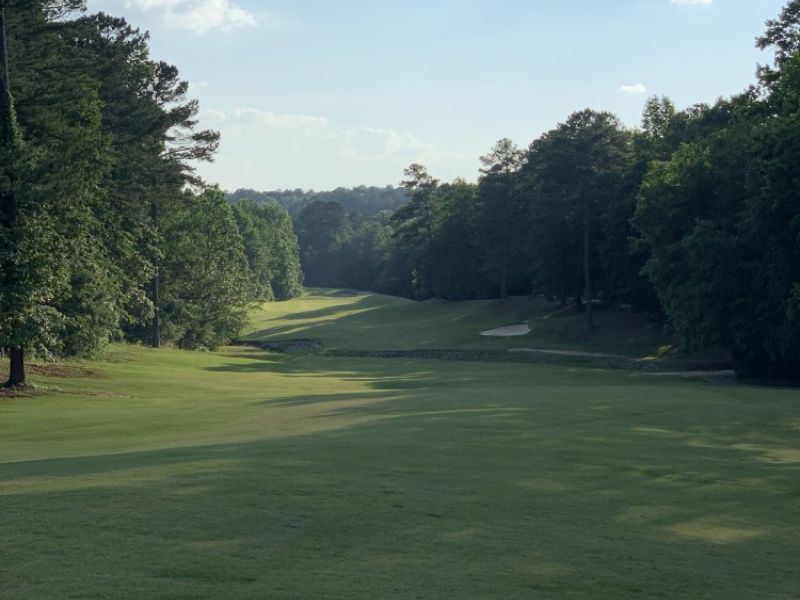
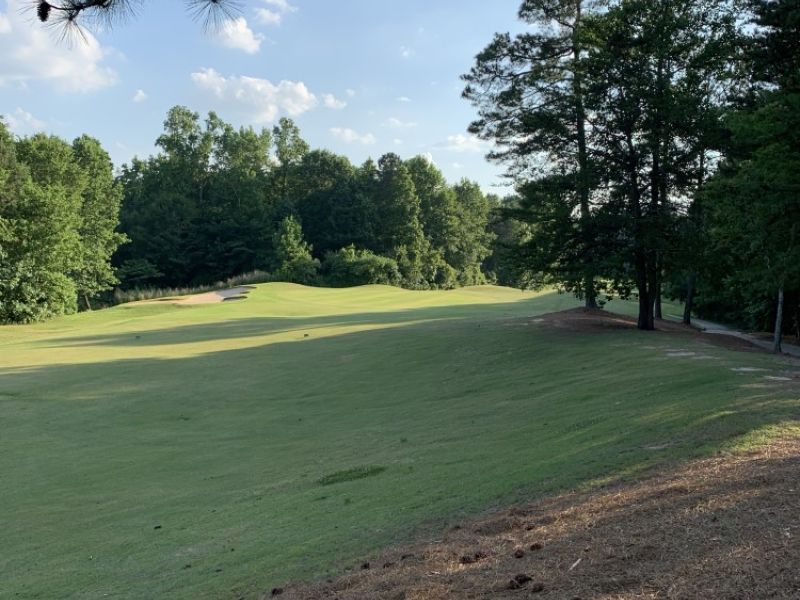
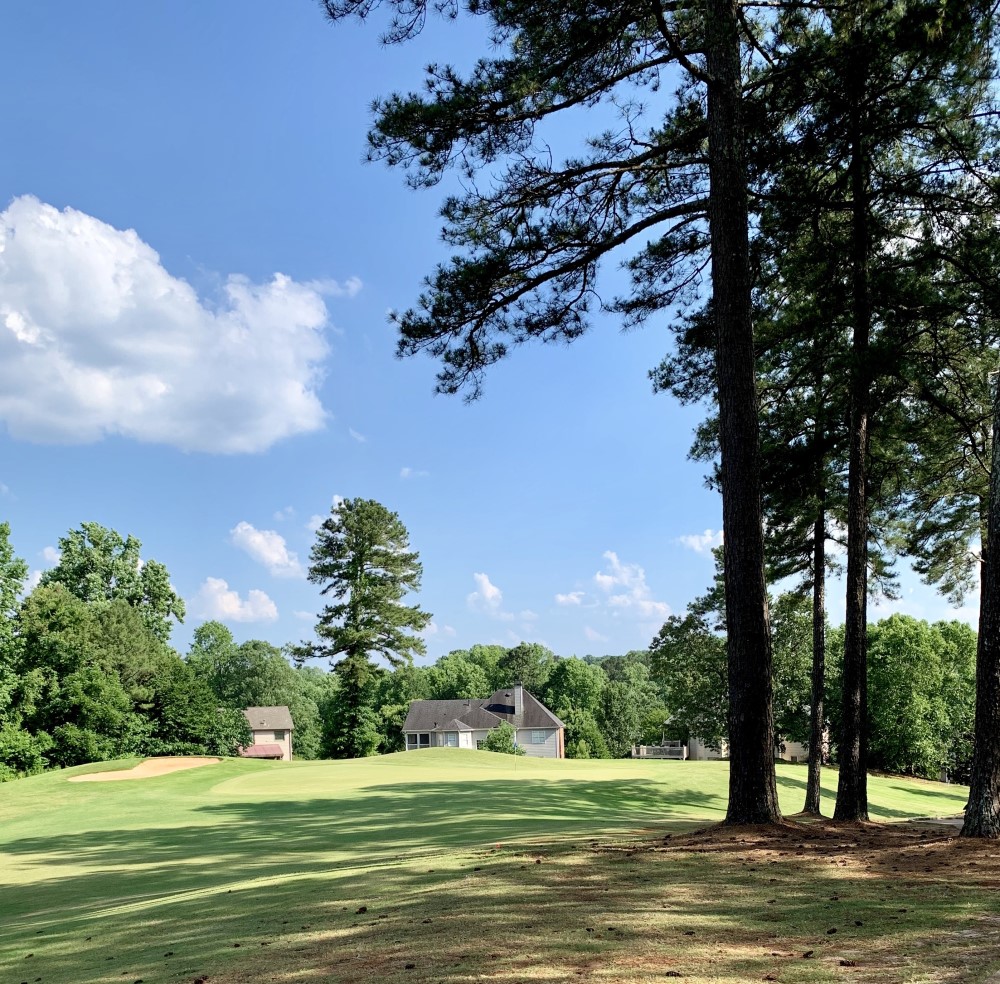
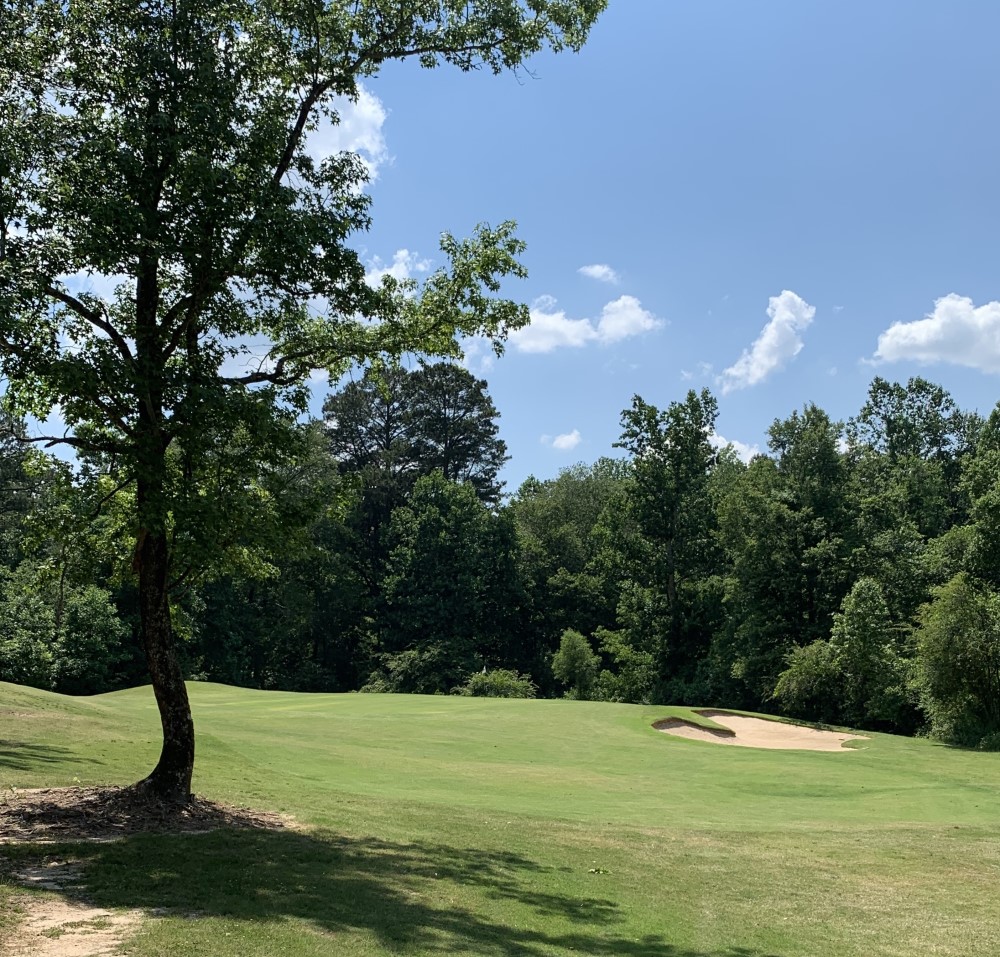
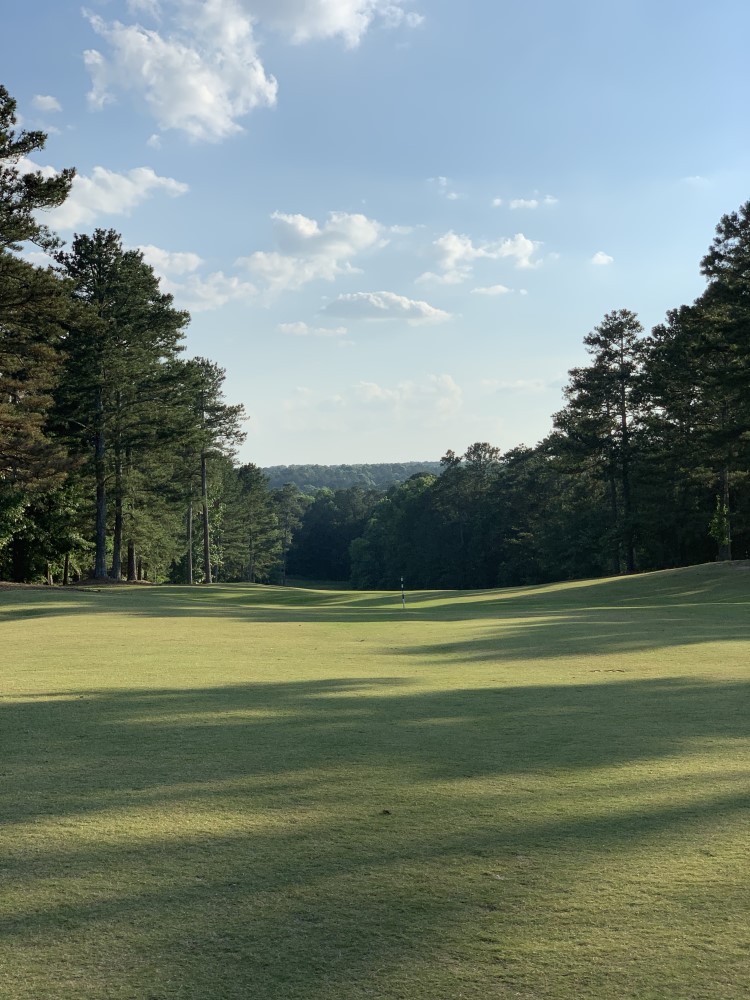
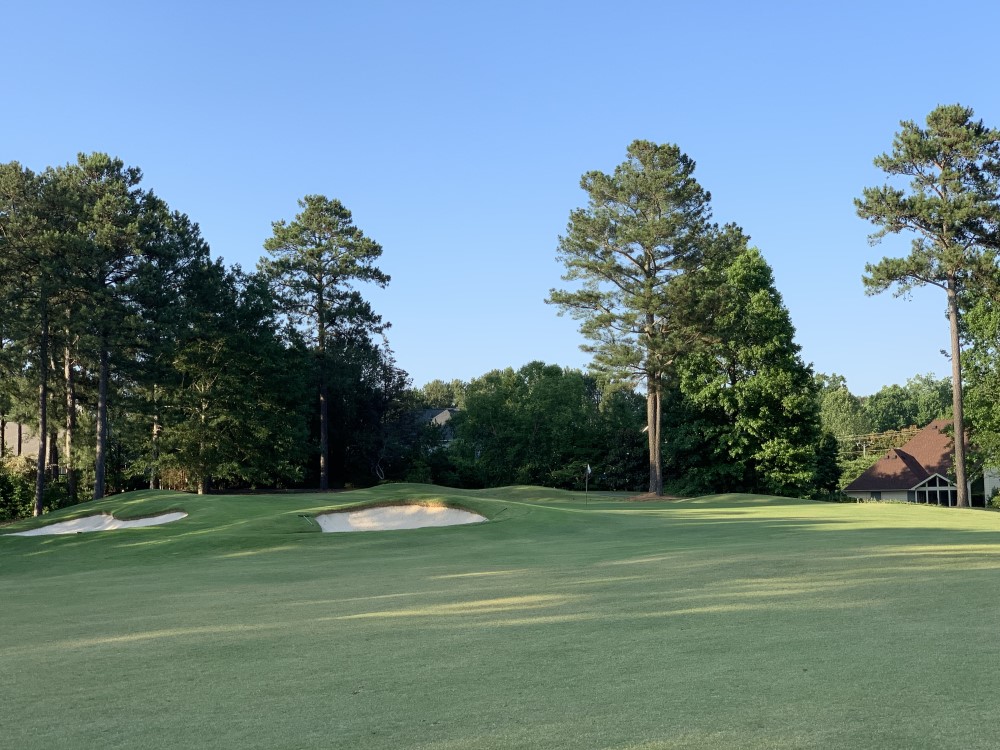
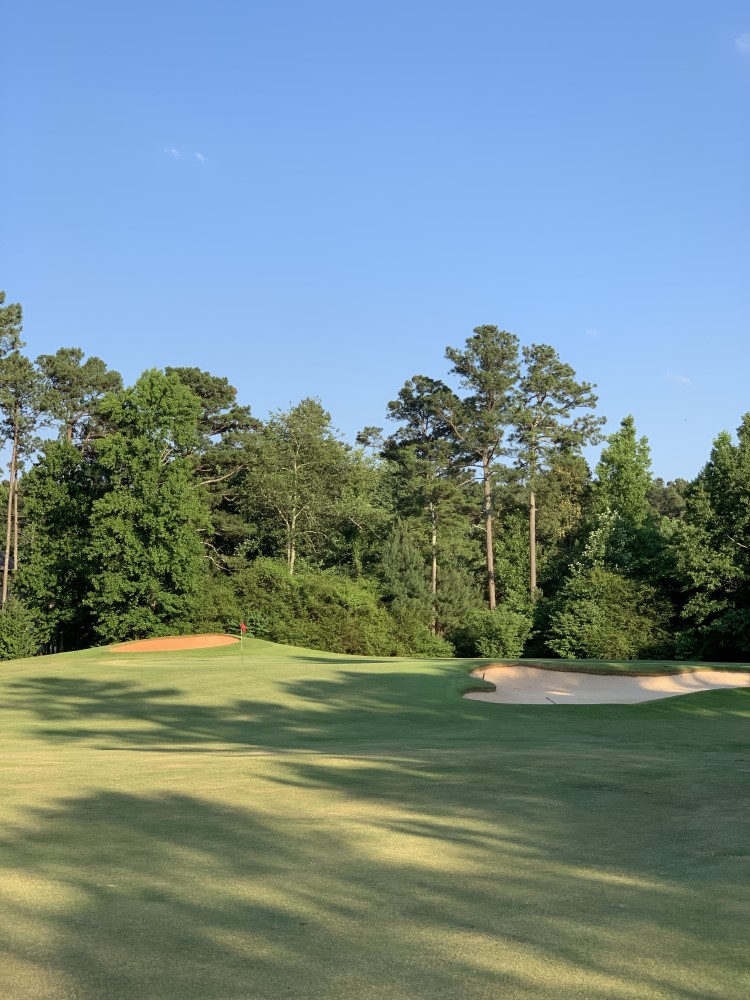
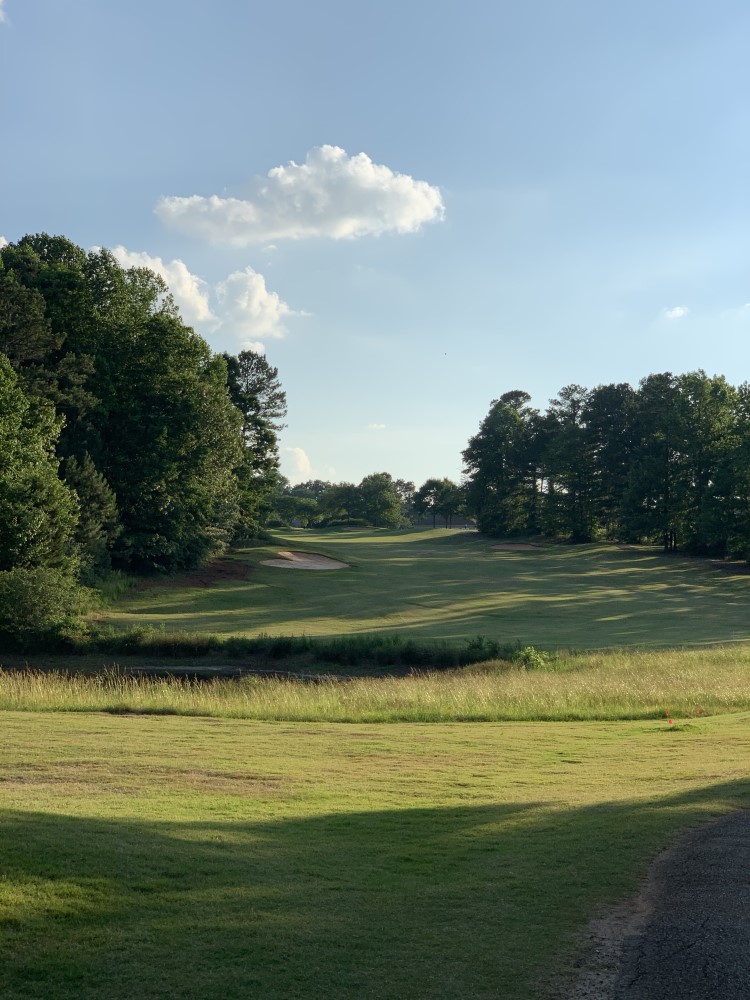
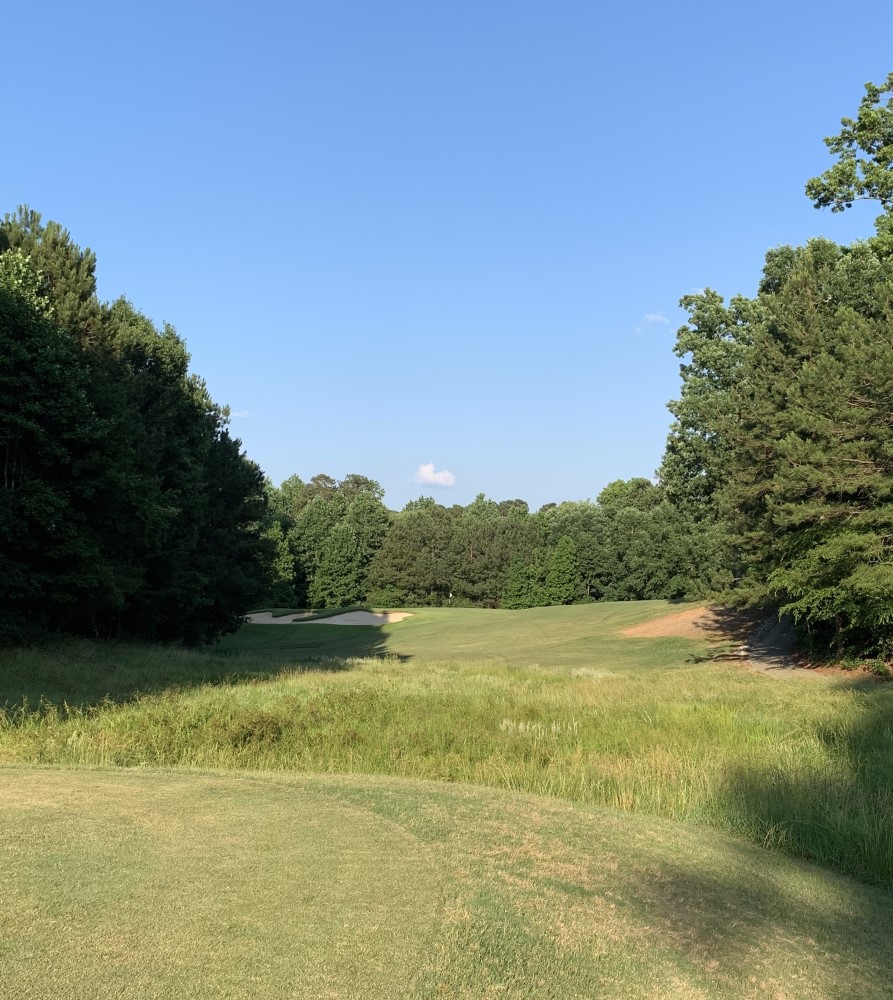
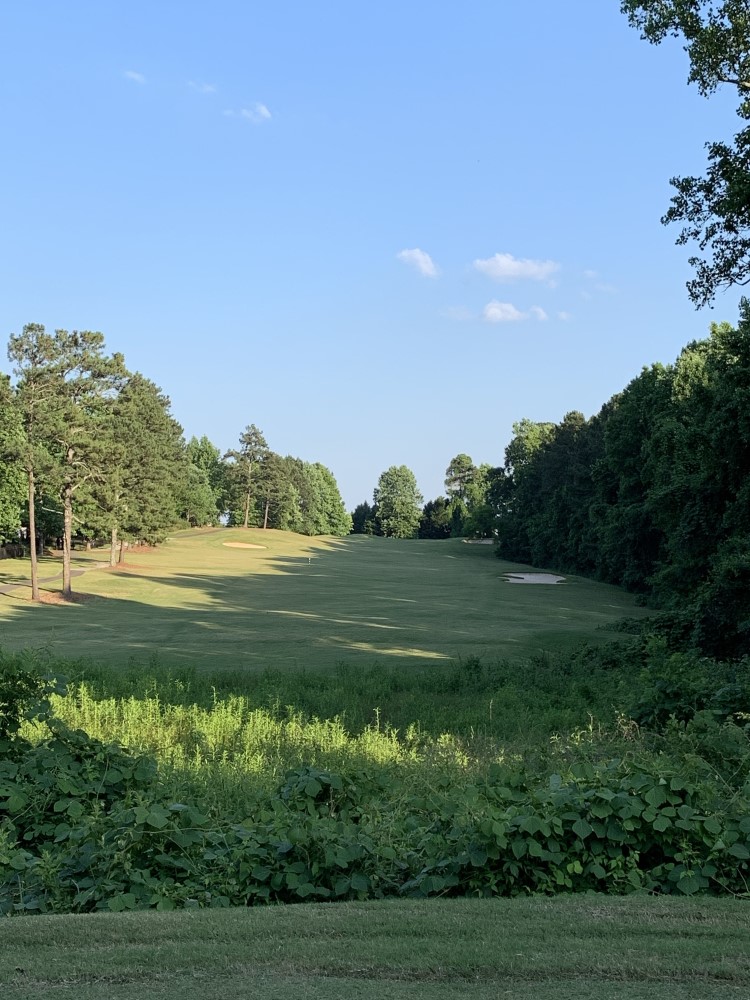
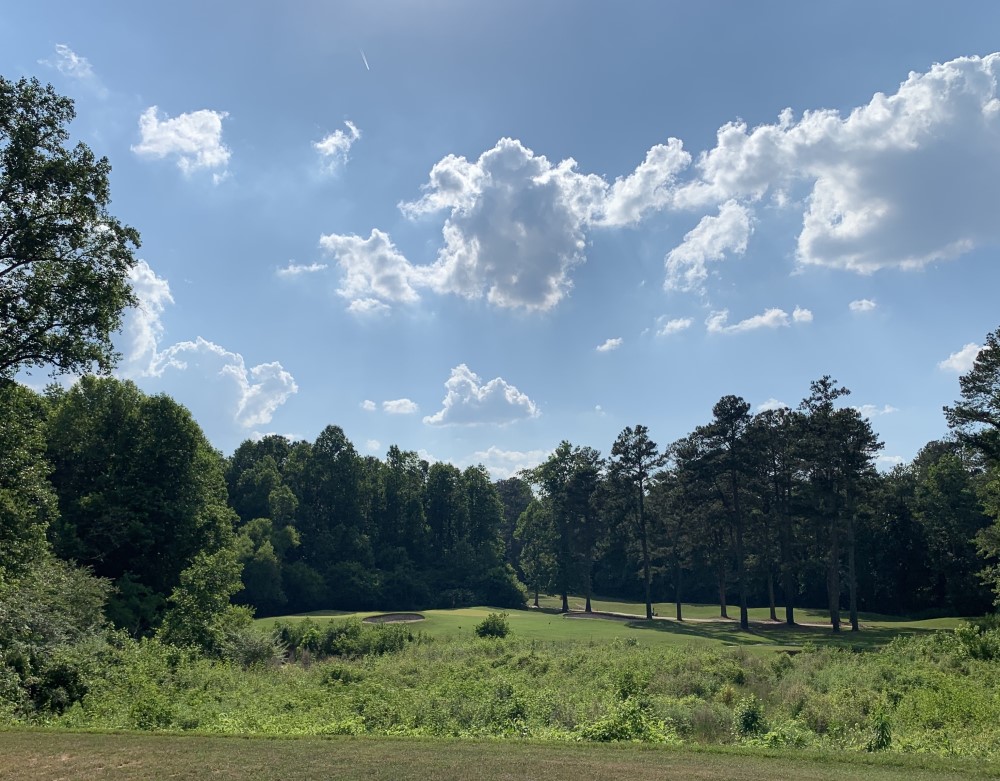
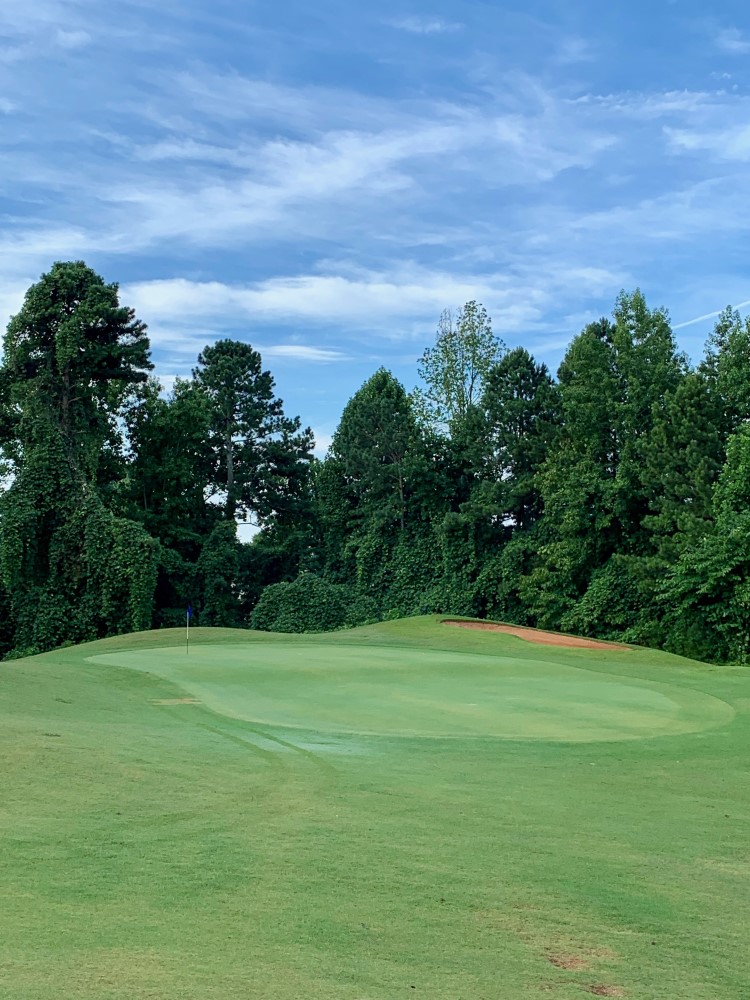
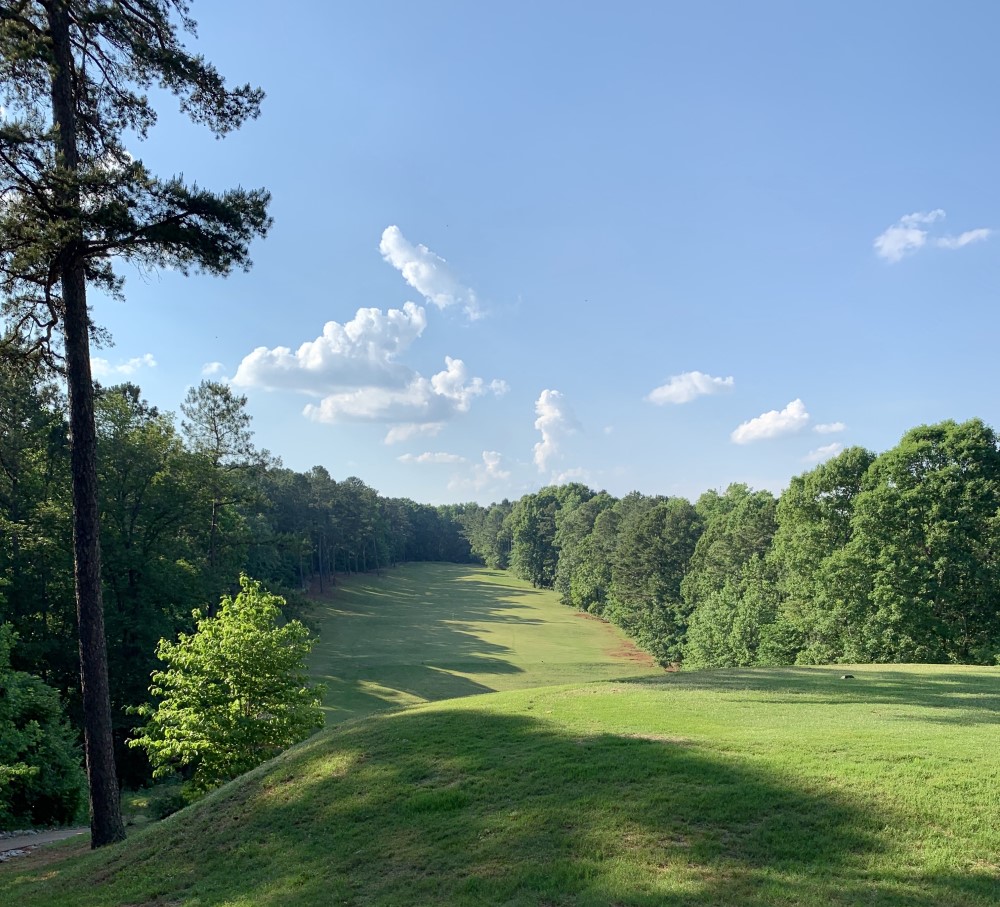
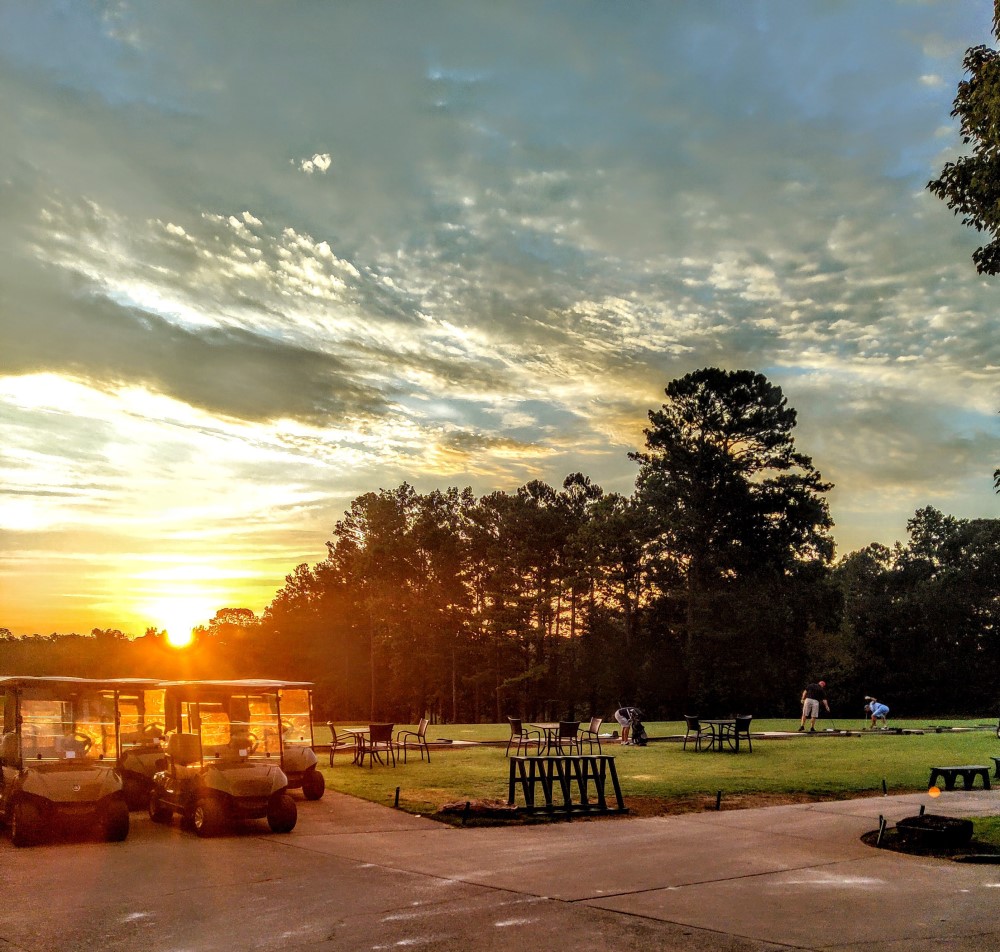
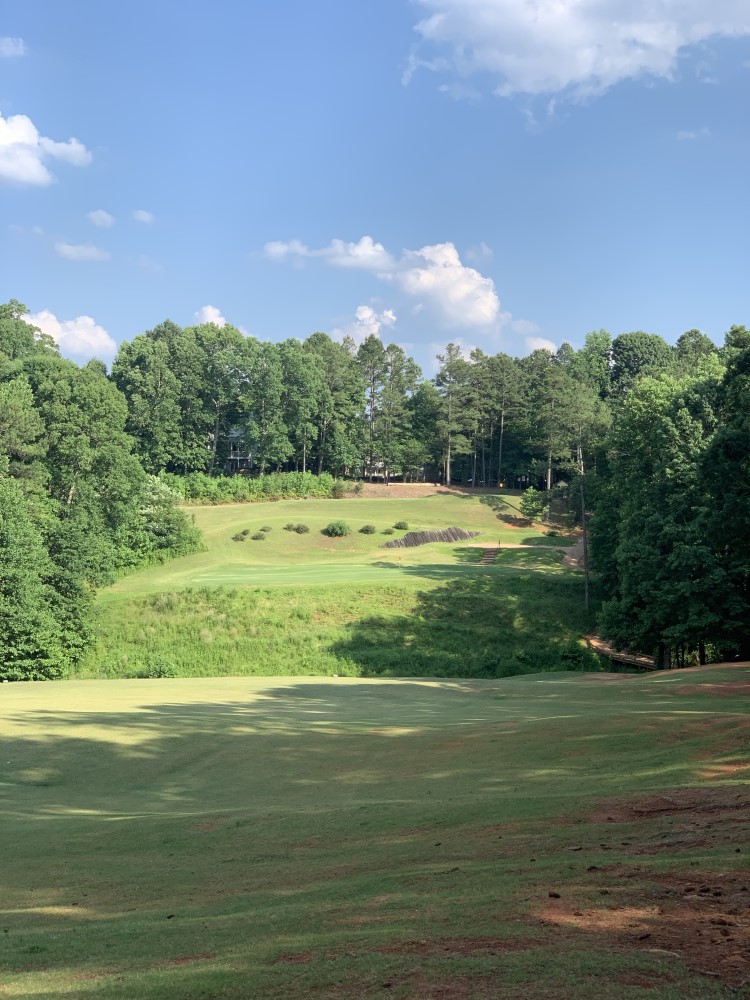
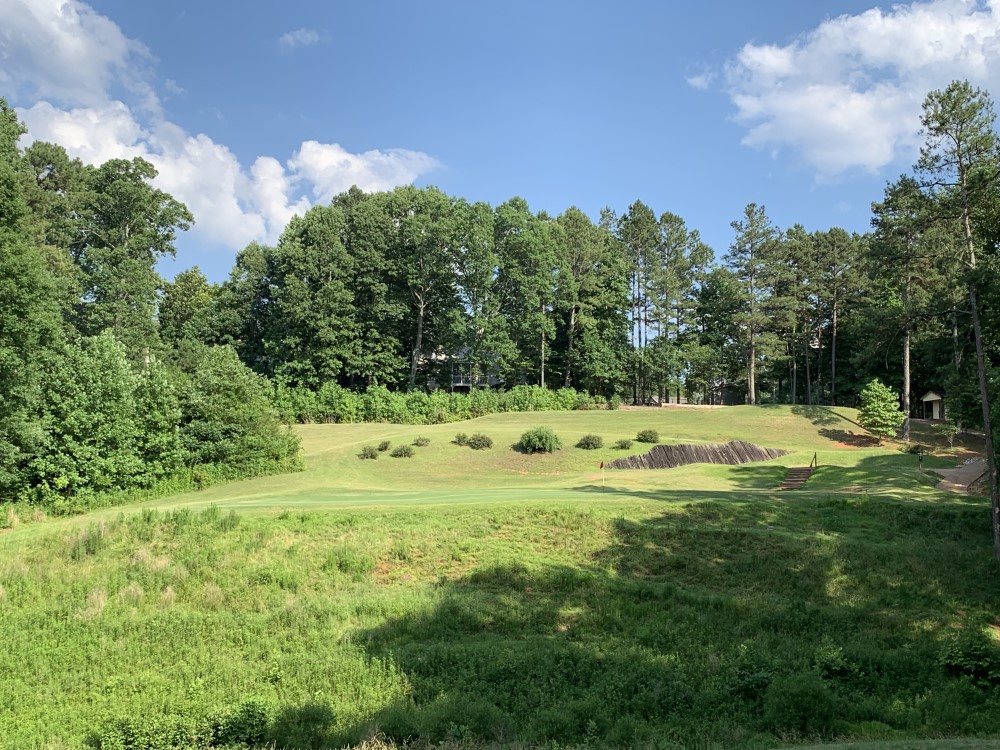
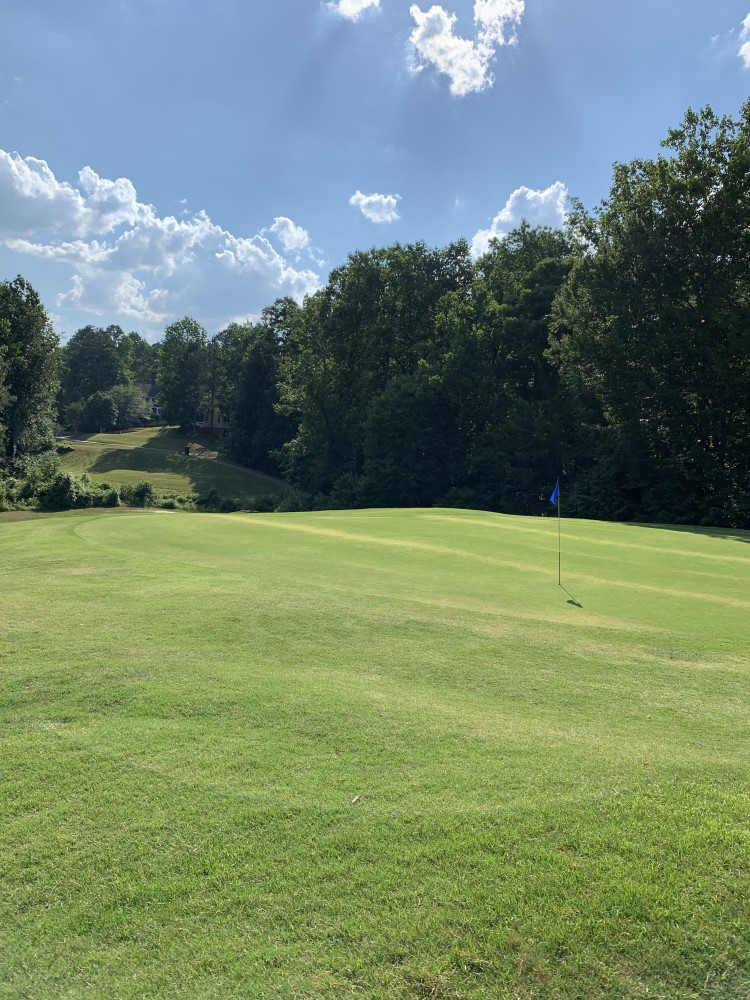
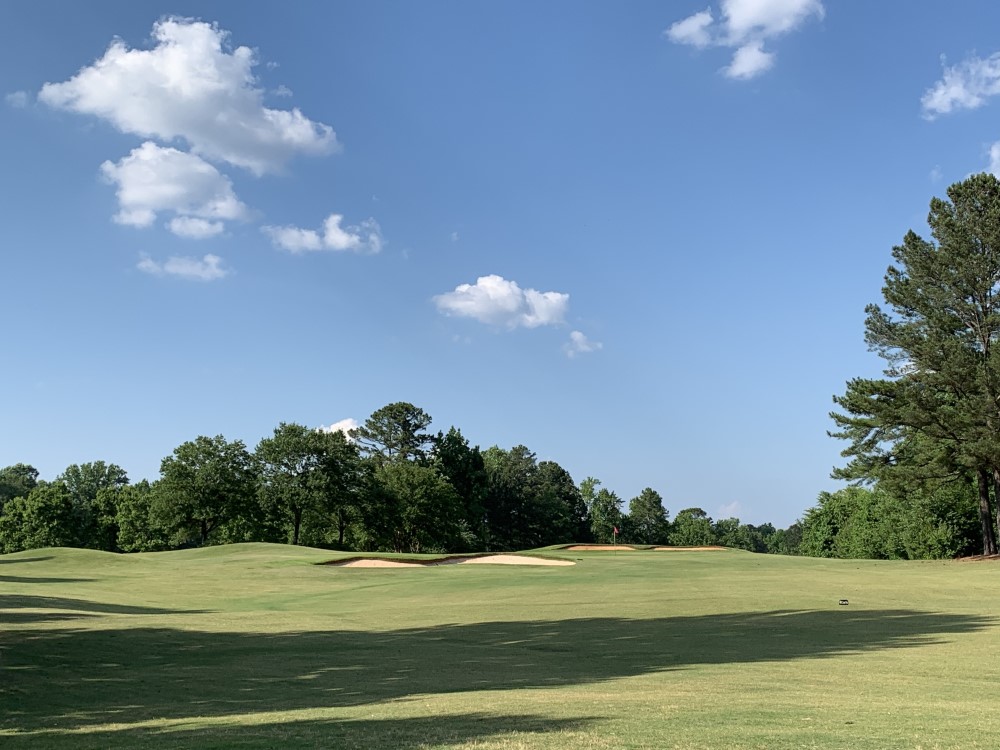
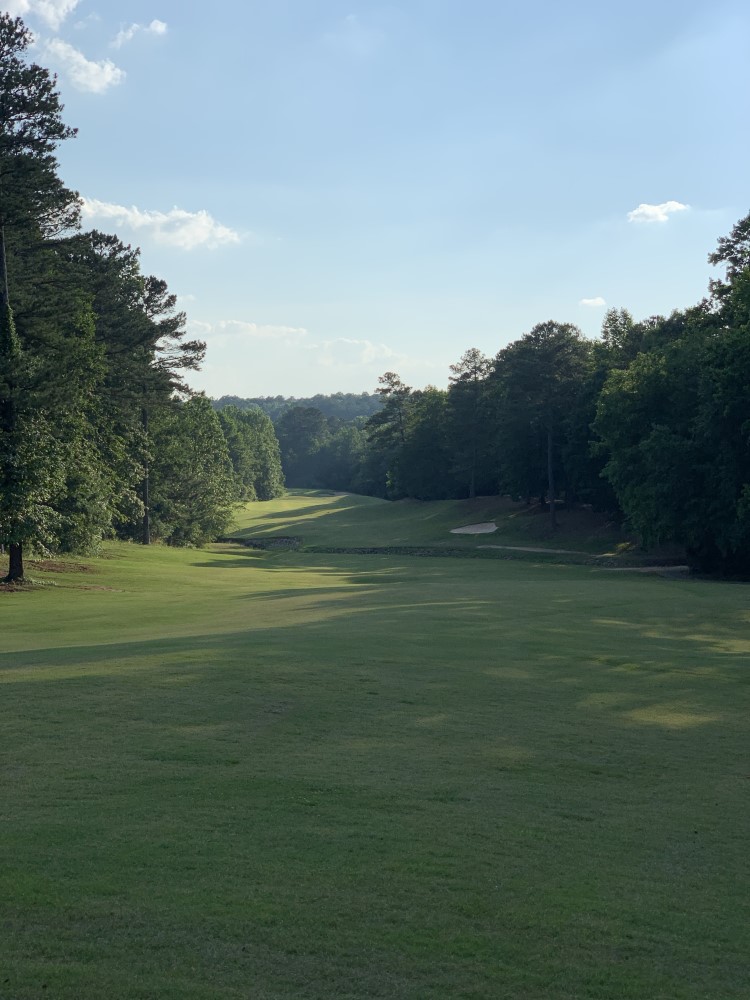
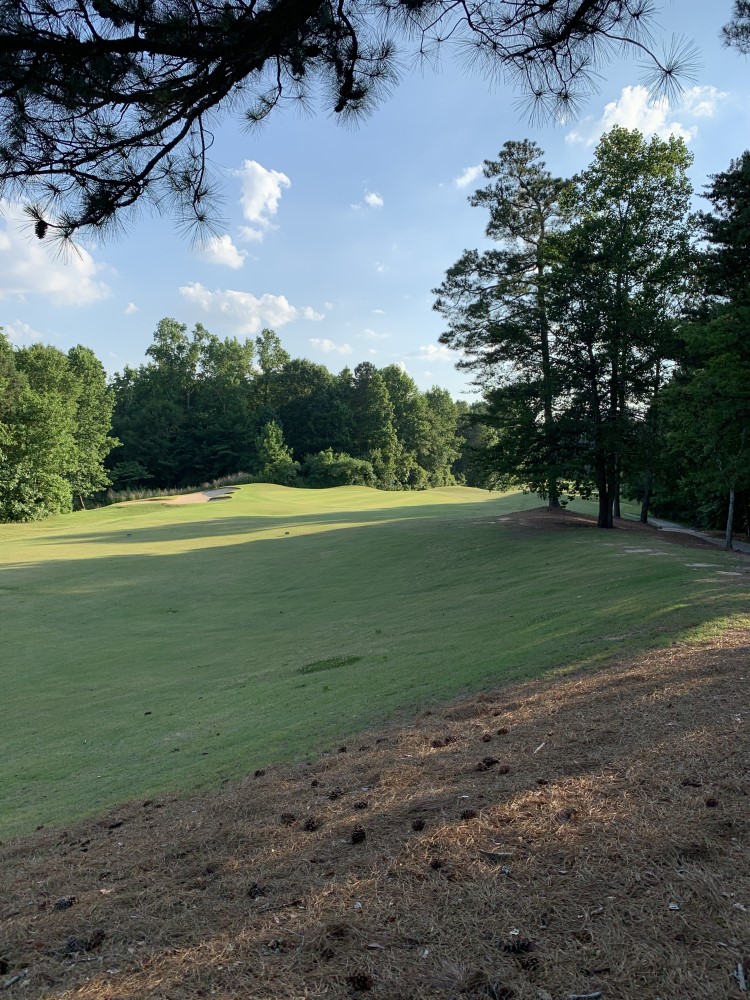
The 18 Hole Trophy Club of Apalachee in Dacula, Georgia is a semi-private golf course that opened in 1994. Designed by Bill Bergin and Steve Melnyk, the layout is carved out of heavily wooded and rolling terrain. The course is set alongside the meandering Apalachee River, and the journey from tee to green will lead you to Champion Bermuda putting surfaces, among the finest in Gwinnett. The Trophy Club's challenging layout, coupled with the staff's warm and courteous service, guarantees a first-rate golfing experience with each visit.

Photo Gallery

→ Click Image to Open • Use Arrows to Scroll ←

Course 1
Course 10
Course 11
Course 12
Course 13
Course 14
Course 15
Course 16
Course 17
Course 18
Course 19
Course 2
Course 20
Course 21
Course 22
Course 23
Course 24
Course 3
Course 4
Course 5
Course 6
Course 7
Course 8
Course 9

Hole by Hole Descriptions

Hole #1

Hole #1

A slight sweeping dogleg left, par 5. Your target is the fairway bunker off the tee. Overall play on this hole is to stay on the right side, as the fairway slopes from right to left on all your shots. The green is reachable in two with a well-struck and placed tee shot

Hole #2

Hole #2

This short scoreable par 4 is all about placement. Again, the fairway slopes from right to left, and the left side of the fairway is where you need to be to have access to all the pin locations. Judge your approach precisely, as long and left of the green are hazard areas.

Hole #3

Hole #3

This par 3 is protected by the elements and a well-placed bunker at the center, just short of the green. The best play here is center of the green.

Hole #4

Hole #4

As you come to the hardest hole on the course, take a breath and focus your tee shot. Hitting the fairway is a must here. Refrain from using your driver—the longer you go down the fairway, the more it narrows. Anything around the 150 marker is perfect. Aim your approach at the opening of the apron, as this green slopes severely from left to right. Par is a great score on this hole!

Hole #5

Hole #5

This is a downhill tee shot to a fairly wide landing area. Use the 150 marker as the guideline and don’t go too far, as the fairway runs out and down into a hazard. Hitting to the same tier as the flag is a must on your approach. Par is a great score here.

Hole #6

Hole #6

Hole 6 is a slight dogleg right par 5–reachable in two. Do not try to cut off the corner as the hazard is blind and comes into play easier than seen. Aim at the fairway bunker and let it rip! The slope of the fairway will leave you with a much shorter approach than imagined. Caution the wind when judging your approach. It’s a touch more downhill than it seems.

Hole #7

Hole #7

This straightforward par 3 only demands being on the correct side of the sloping ridge that runs through the center front of the green. There’s nothing wrong with hitting the center of the green.

Hole #8

Hole #8

This sloping slight dogleg right, short par 4 is truly a risk-reward. The safe play here is a long iron or hybrid to left center of the fairway, leaving a short approach to a green that slopes away. The green is reachable for the longer hitters, but so is the out-of-bounds.

Hole #9

Hole #9

This straightaway par 4 has a guarding fairway bunker on the left side. Stay just to right to give yourself access to all the pin locations. Your short iron approach to this green is protected by a front and rear bunker.

Hole #10

Hole #10

This difficult and lengthy par 4 is bisected by a creek which forces players to take a shortened tee shot. The fairway runs away, so judge your distance off the tee properly. The approach shot is long and guarded by a left bunker and hazard right. Par is a great score here!

Hole #11

Hole #11

This straightforward par 3 is all about distance control. The conservative play is to the left side of the green, taking the bunker out of play. Par is a great score here!

Hole #12

Hole #12

This uphill straightaway par 4 requires a tee shot placed at the right side of the fairway, which slopes from right to left. Judge your approach carefully using one more club, as it is more uphill than it appears.

Hole #13

Hole #13

This long difficult par 3 requires a solid strike to the right side of the green regardless of pin location. The viewable bunker is deep and very punishing. Avoid it at all costs. Par is a great score here!

Hole #14

Hole #14

This uphill hole is a true three-shot par 5. Hitting the fairway is a premium to laying up a decent number. Your approach must be judged precisely to this narrow green.

Hole #15

Hole #15

This straightaway par 3 plays a touch uphill, so take enough club to reach the putting surface. Avoid the right side, as the hazard keeps up quickly.

Hole #16

Hole #16

This par 4 is all about tee shot placement. Stay left of the 150 marker and let it rip. The left side placement will ease access to any pin location and is necessary for access to a back pin. Make sure to take a half club more on your approach as it plays a touch longer uphill.

Hole #17

Hole #17

This long par 5 puts a premium on your tee shot once again. The landing area is decreased from the elevated tee. Lay up to your favorite number or let it rip to the left side of the green. The greenside bunker is a little deep and can add a stroke or two if you’re not careful

Hole #18

Hole #18

Our tough finishing hole is only hole where water comes into play. Stay right of the left half of the fairway as the fairway slopes away. A long approach requires a solid strike right of the greenside bunker. Par is a great score here!


logo
Trophy Club of Apalachee
1008 Dacula Road
Dacula, GA 30019